Amber Ale Homebrew - Recipe and Results
Amber ales have their place right next to the IPA at the foundation of craft brewing. And like IPAs, these iconic brews fit into all seasons and occasions. For us, an amber ale slides in perfectly right after the malty and crisp Oktoberfest lagers and right before the rich and hearty stouts of winter. But anytime you choose, that’s the perfect time to have an amber ale.
As homebrewers, we need to have an amber ale recipe that fits into all seasons and is adaptable to add malt or hop depth as necessary. The problem with amber ales is that there are many renditions, and they are all different. Do you go the chocolate malt route or just add layers of caramel malt? Do you keep it malt forward or do you add a punch of hops for aroma and balance? Do you add European influence or do you go all American?
Well, the truth is that while many amber ales are different, for us the goal is to achieve something with a lot of malt-depth and just enough hops to keep that malt forward flavor from tipping it over.
Easier said than done, but running to the beer store to examine the intricacies of another 6-pack of amber ale won’t get us any closer, so let’s get after it.
Check out the recipe and results below to see how we did on our Amber Ale 1-gallon batch.
Recipe
Malt
2-Row - 32 oz (88.9% of mash)
Caramel 60L - 3.2 oz (8.9% of mash)
Chocolate Malt - 0.8 oz (2.2 % of mash)
We like a strong American root, so we went heavy with the 2-row and added the Caramel 60L for a deep caramel/toffee flavor that we hoped would blend nicely with a touch of chocolate malt added for its deep flavor and color addition.
We mashed our malt in 3.5 quarts of water at 150℉ for one hour and then sparged with one gallon of 170℉ water. We collected that sweet wort and moved onto the 90-minute boil. Time for some hops!
Amber ales require balance or all that sweet malt alone will make the beer far too cloying to drink many of, and for us, an amber ale needs to be approachable. But, at least in the Brew household, we like our beers hoppy, so we amped the hops up a bit from a traditional amber ale recipe, and (fingers crossed) it will result in something great.
We chose to do a 90-minute boil with our amber ale to get those malt sugars condensed and carmelized for a sweet and deep flavor. Now, onto the boil!
Boil (90 minutes)
Magnum - 0.1 oz at the start (90 minutes)
Cascade - 0.2 oz with 30 minutes remaining
Irish moss clarifier (optional) - ⅕ tsp with 15 minutes remaining
Centennial - 0.2 oz at flameout (0 minutes)
Centennial - 0.2 oz dry-hopped 3-5 days after start of fermentation.
We used the Magnum and Cascade early as our bittering backbone, and then the Centennial towards the end of the boil and in a dry-hop addition for its aromatic qualities. Very American ingredients for what we’re hoping is a very good American amber ale.
Brewer Tip: Play around with temperatures a bit when adding a dose of hops at flameout. When the kettle comes off the heat the temp can remain around boiling (212℉) for a while, and this can reduce the more volatile hop oils you might want to keep around—oils like myrcene that add a fruity and floral touch. Adding hops between 185-195℉ and then swirling the wort for a bit can pull the oils from the hops into your wort, adding more flavor and aroma. But beware letting the wort drop below 180℉—that’s when the bad stuff gets into the beer and turns your elixir sour.
After the boil, we then cooled the beer to 70℉ and added 3 grams of preactivated US-05 yeast Safale (3 grams yeast in 30 ml of 95-105℉ water for 20-30 minutes) and let it ferment for two weeks to let all those delicious yeast and hop oils dance together (don’t forget to dry-hop if you’re looking for great aroma). Then we added 0.79 oz of corn sugar boiled in 1 cup of water for five minutes for priming (skip this if you keg), bottled it (yield: 10 bottles), and waited another two weeks.
Now for the fun. Here’s our first impressions of our Amber Ale!
Results
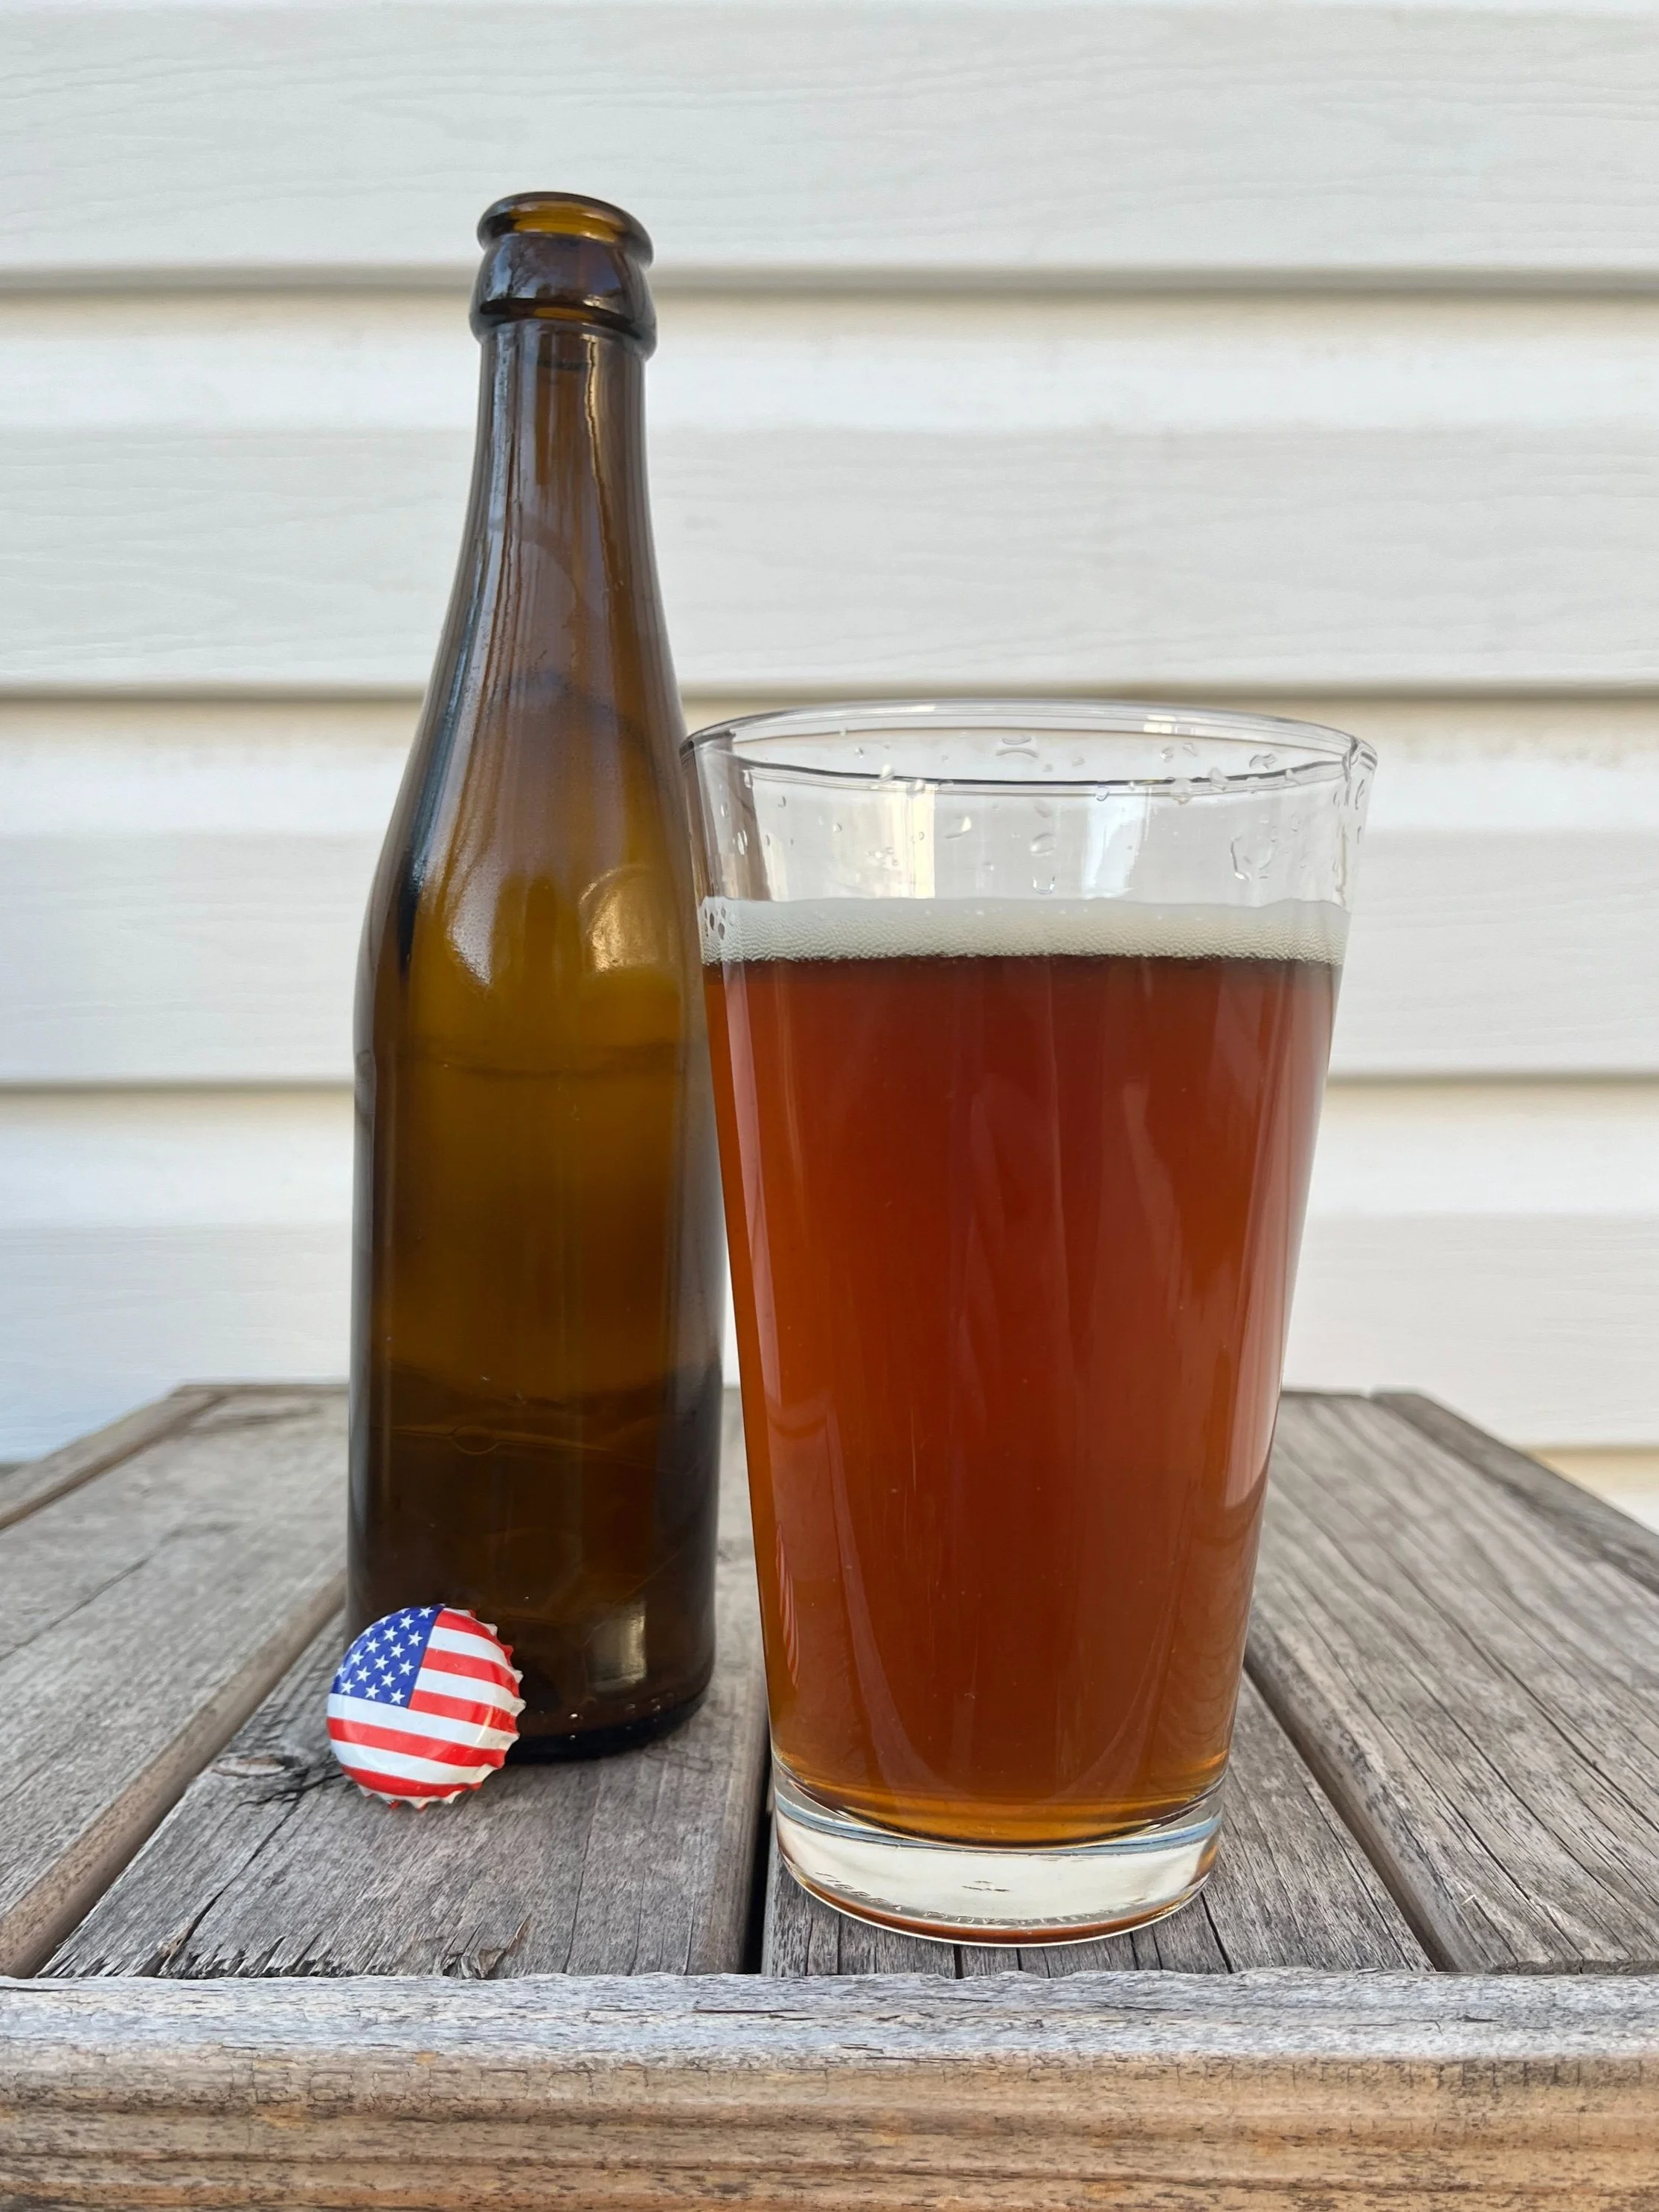
On the Eyes--Copper-colored, slightly hazy, and topped with a off-white head that diminished quickly.
On the Nose--Malty and quite crisp. I get a nice stroke of caramel and, after searching a bit, a touch of chocolate. The dry-hopped Centennial is present, and maybe a bit overboard for an amber, though in truth it has pretty good balance on the nose.
On the Palate--Medium-bodied and quite hoppy—maybe overly so for an amber, as the aroma alluded to—but it does have an even caramel sweetness and a classic Cascade bitterness from the early addition, which gets a push from the clean bittering Magnum. The chocolate flavor we were looking for falls back a bit, but the balance of the beer is good—possibly too good if you’re looking for an edge towards malt-forward. It finishes dry and with little lingering on the palate.
Final Thoughts:
Well, it definitely needs more chocolate malt in our opinion, or at the very least more depth of malt flavor, and a bit of Carapils for head retention, because an amber looks great with a top on it. What I would do first is decrease the 2-row to 85% of the malt, bring the caramel 60L up to 10% and the chocolate up to 5%. And by adding about 0.1 lb of Carapils (1.6 oz) the beer would have more head retention, if that’s something you’re looking for.
But, those are truly small changes. If you’re not looking for something so aromatic, add the Centennial additions at 15 minutes and at flame-out instead of dry-hopping. I think that would fix a lot of small issues in this beer while giving it a more classic American flavor. I love the medium-body and the dry finish, and honestly, the complexity of the beer really began to shine after it had some time to breathe.
This is a pretty good beer, and with a few minor changes to preference, it will be a really great beer. A beer style every homebrewer needs in the repertoire.
Brew on, and keep experimenting, because that’s what it’s all about.
Cheers!
Mr. Brew

